Before I start, maybe not all members understand what is Bokeh. Here is the elaboration of Bokeh:
"In photography, bokeh (pronounced /boʊ'kɛ/) is the blur,[1][2] or the aesthetic quality of the blur,[3][4][5] in out-of-focus areas of an image, or "the way the lens renders out-of-focus points of light."[6] Differences in lens aberrations and aperture shape cause some lens designs to blur the image in a way that is pleasing to the eye, while others produce blurring that is unpleasant or distracting—"good" and "bad" bokeh, respectively.[1] Bokeh occurs for parts of the scene that lie outside the depth of field. Photographers sometimes deliberately use a shallow focus technique to create images with prominent out-of-focus regions." -http://en.wikipedia.org
A big aperture give you a very good Bokeh. However not all photographers can afford to purchase these lens as it oftenly come with a high price.
Thanks to the software technology today, photographers are able to create their own bokeh without having big aperture lens. Today, I would like to share with fella members here a simple tutorial of how to create a bokeh with Photoshop.
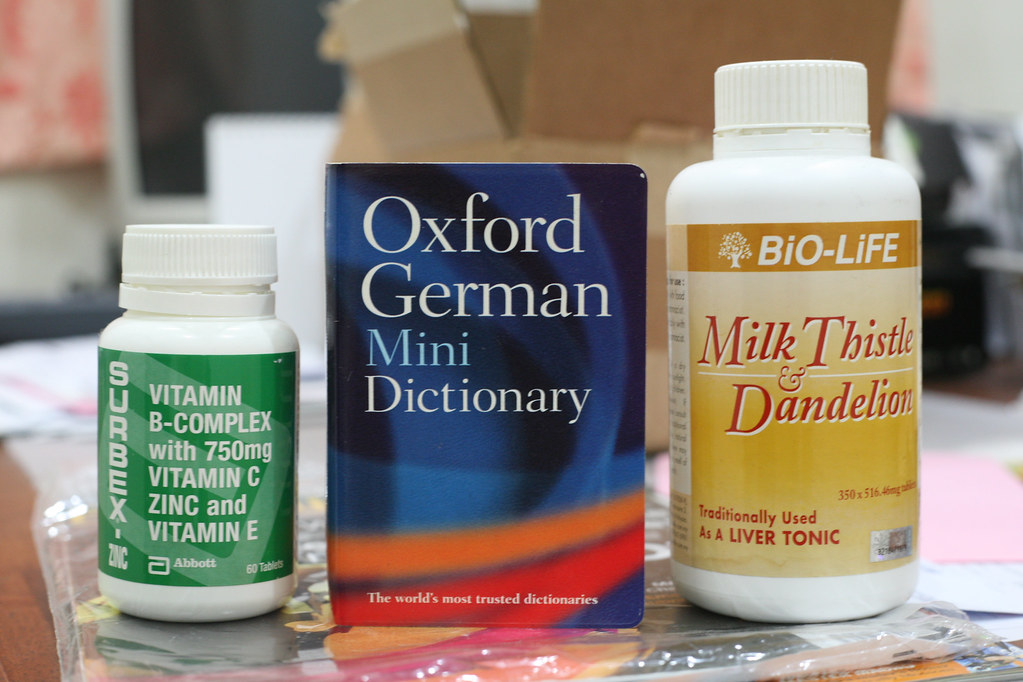
What I have with me now is Adobe Photoshop Version 6.1 and a simple photo that I just took. Please take note that the objects are arrange in side by side manner just to give readers a better illustration.
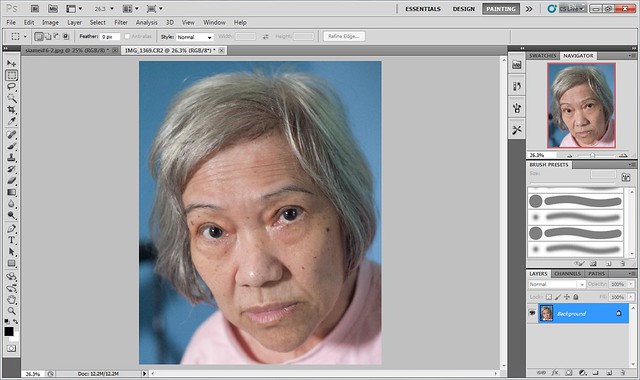
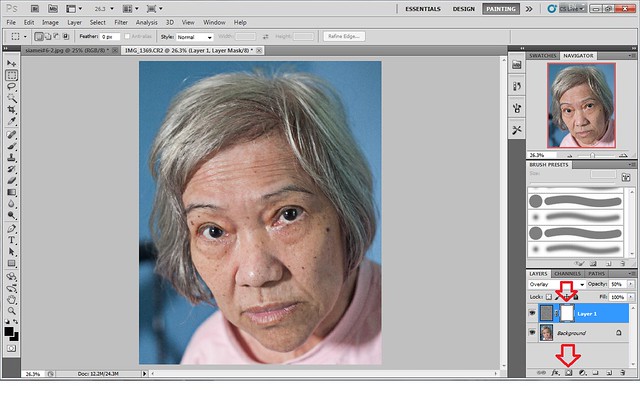
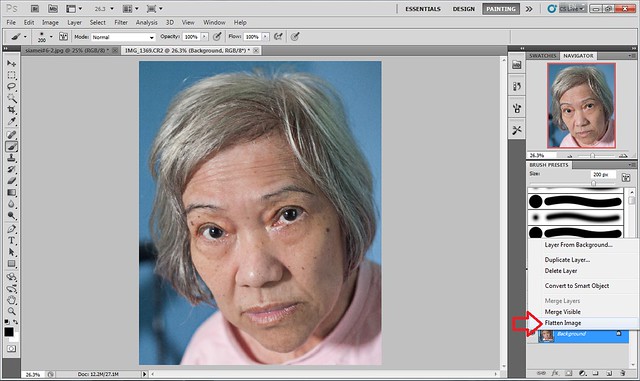
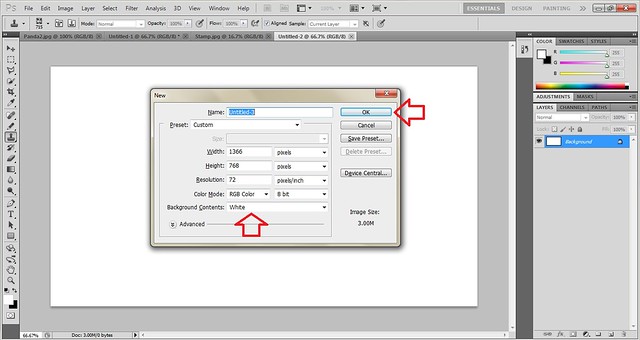
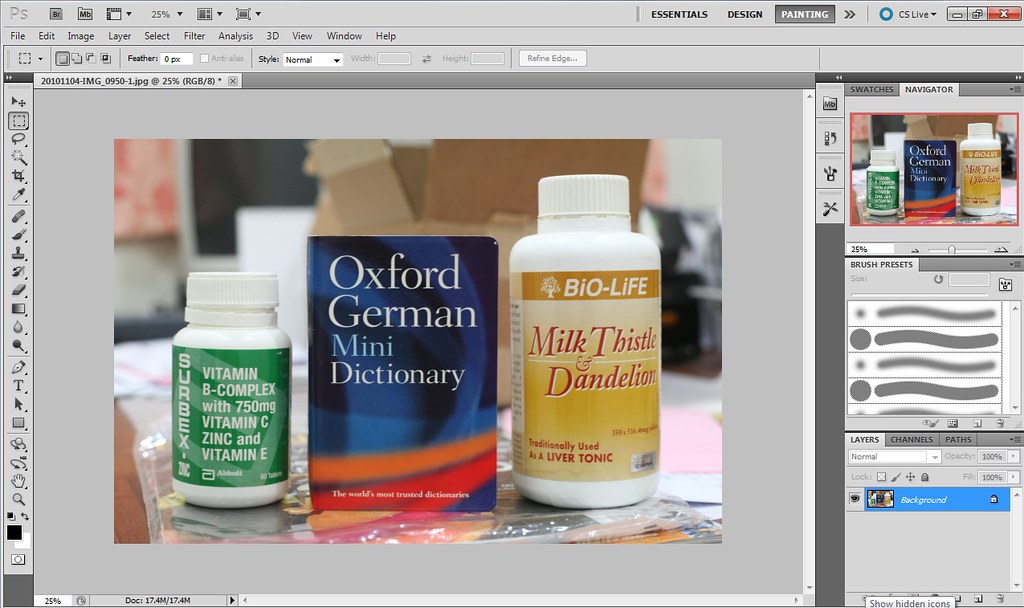
1. Open the photo that you want to work on.
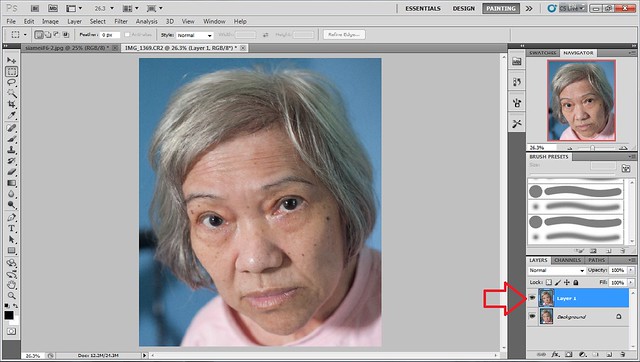
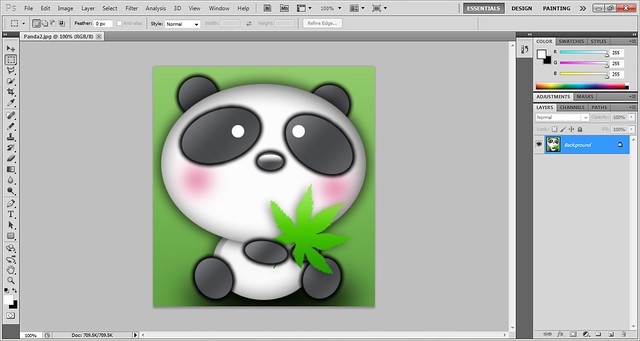
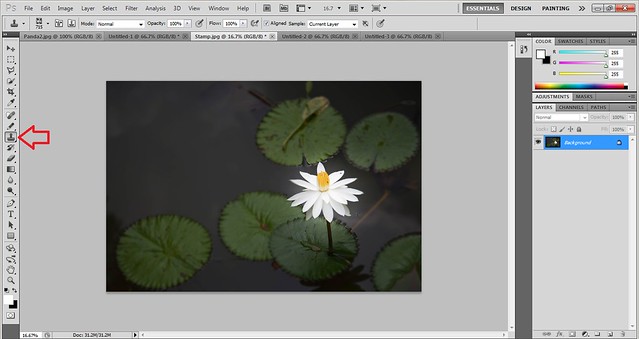
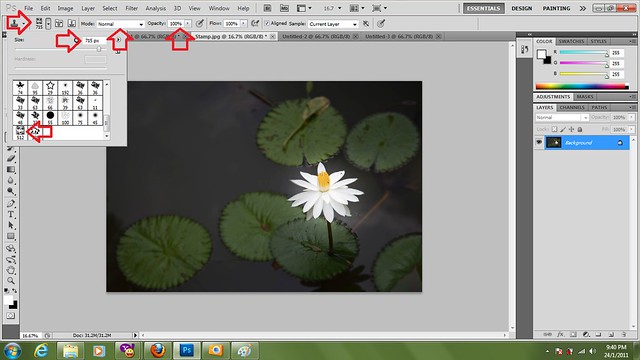
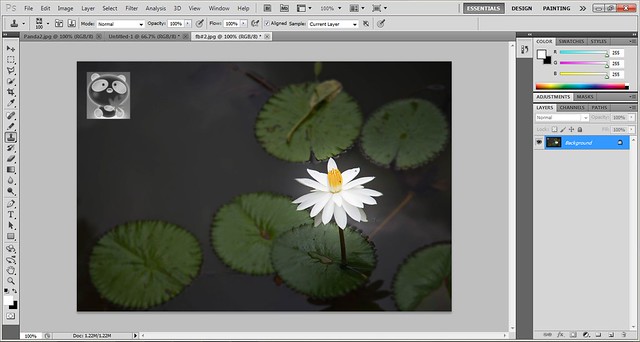
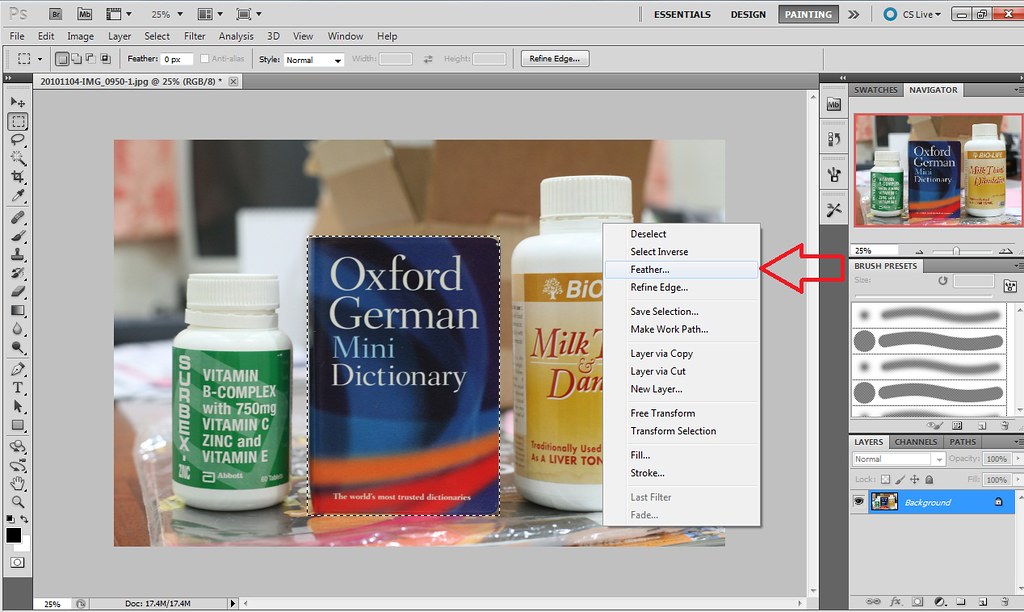
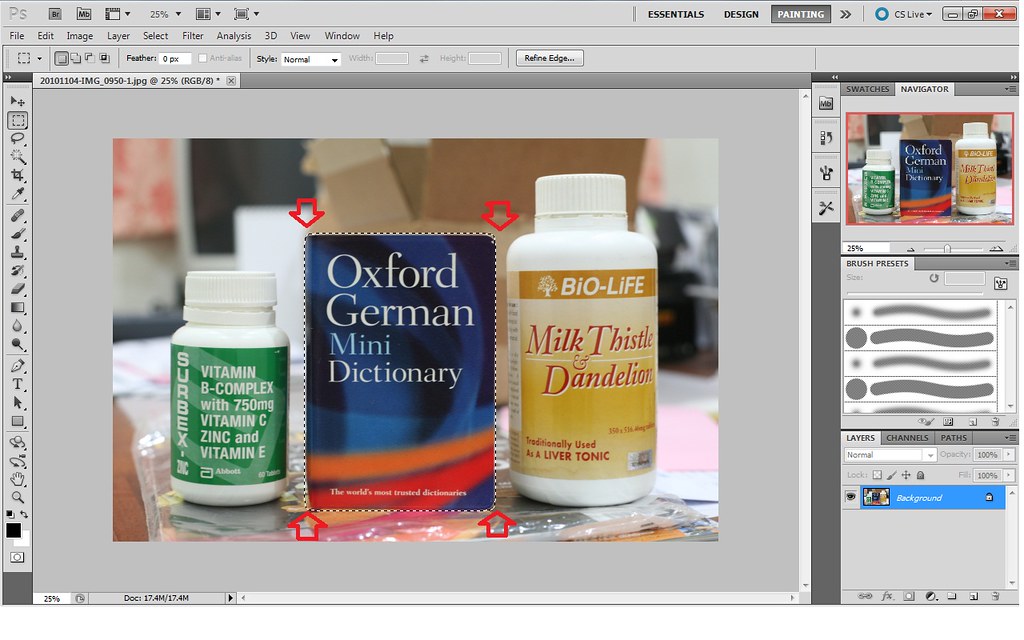
2. Choose the Rectangular Marquee Tool (M) and select the object.

3. Right click on your mouse and select Feather.
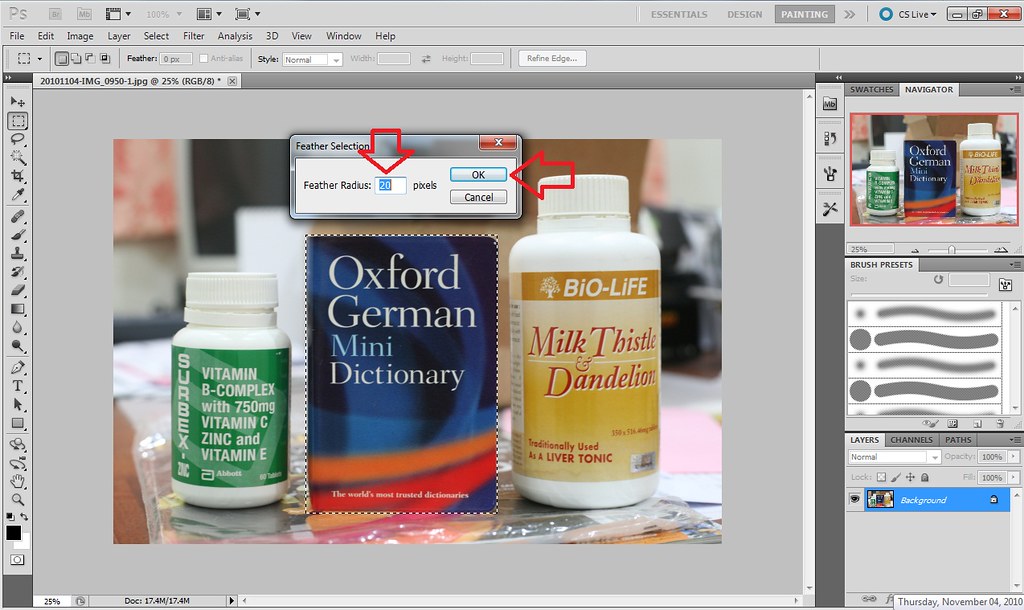
4. Select Feather Radius of 20 and click OK.
5. You can see radius on the 4 corners of your selection.
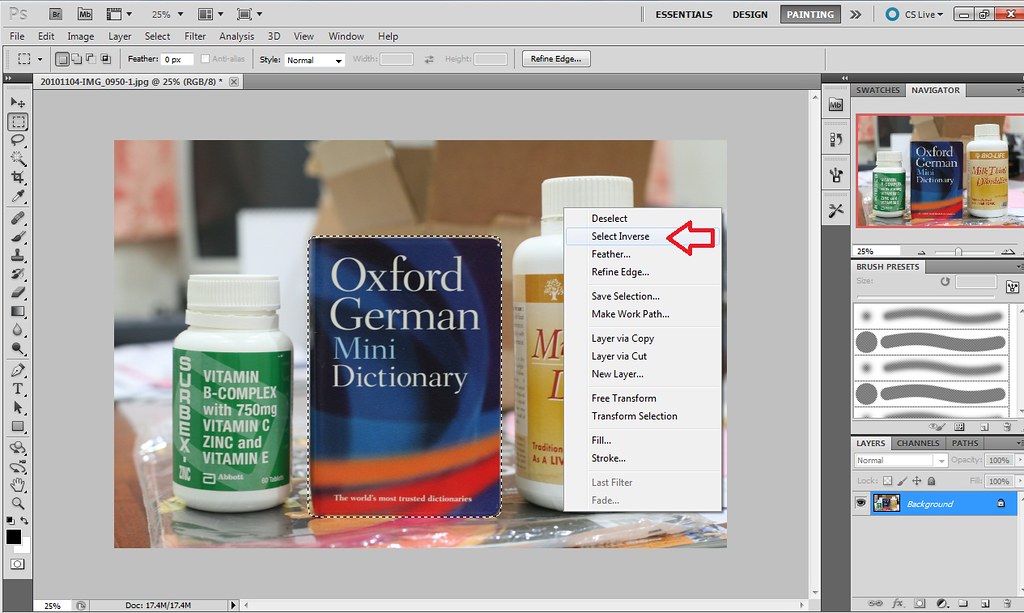
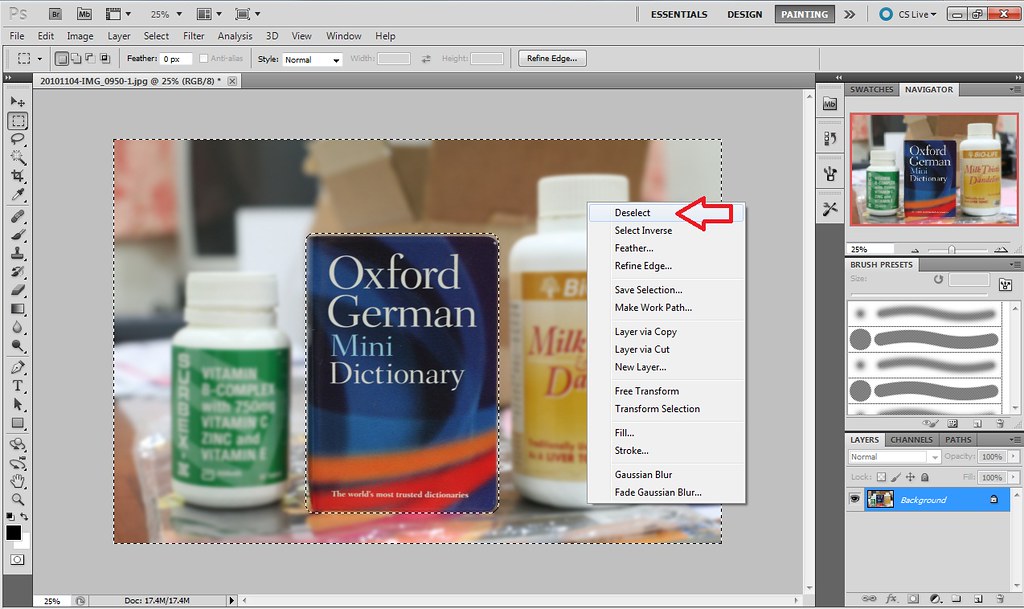
6. Right click and select Inverse.
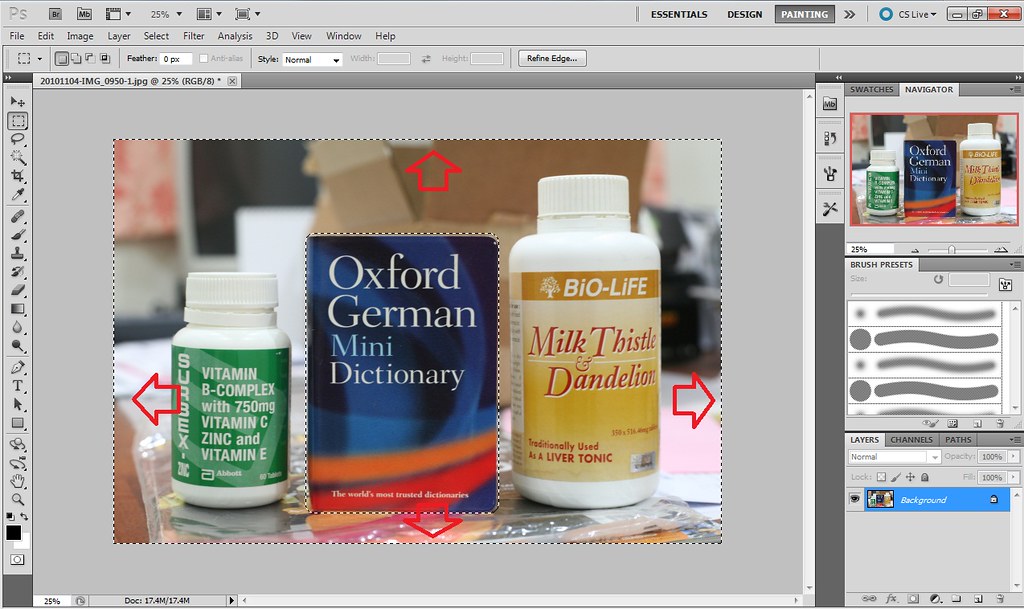
7. You can see all your selection are inversed.
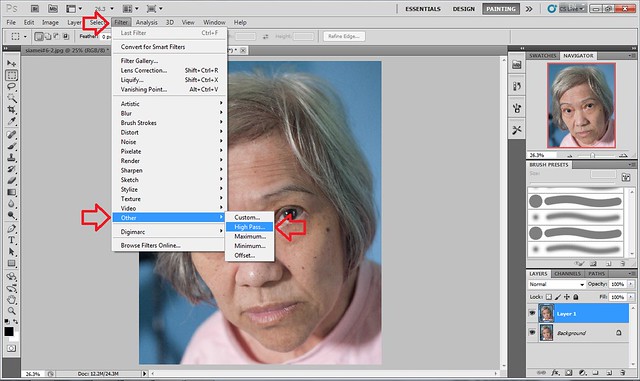
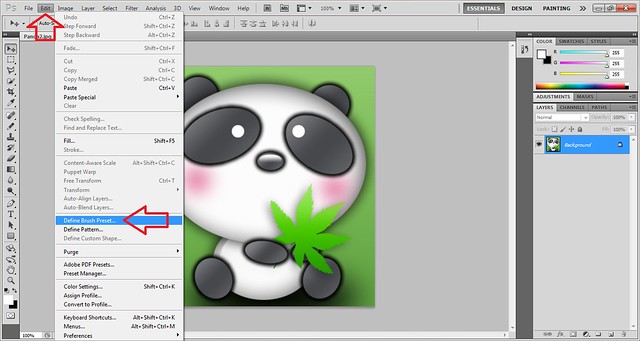
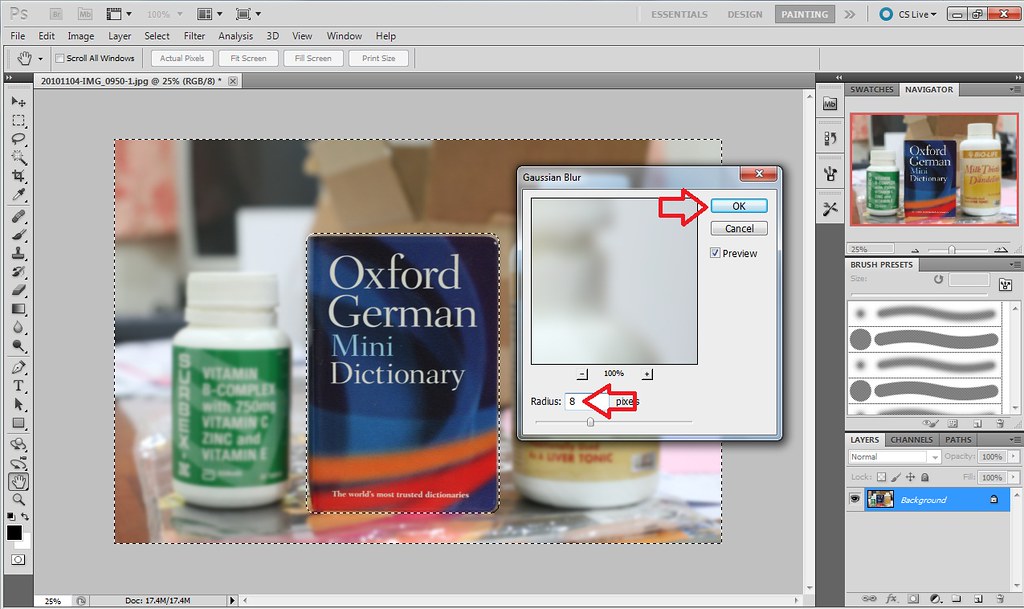
8. Go to Filter -> Blur and click Gaussian Blur.

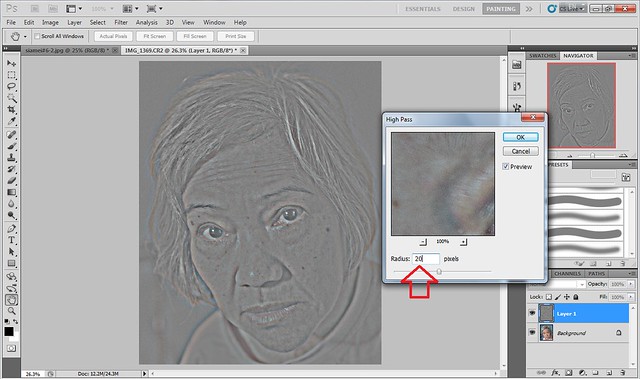
9. Choose radius 8 and click OK.
10. Right click and choose Deselect.
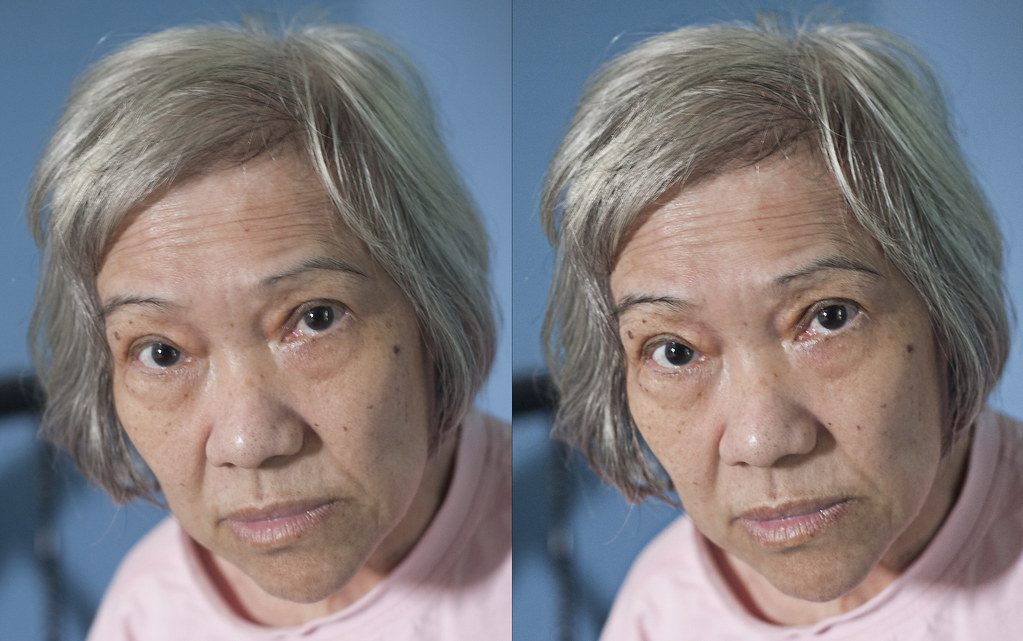
So, here you go:
Before:
After:

All the settings that I presented here is just an example. You can set your own setting according to your taste. With this technique, you can compensate a Bokeh photo without getting a big aperture lens.
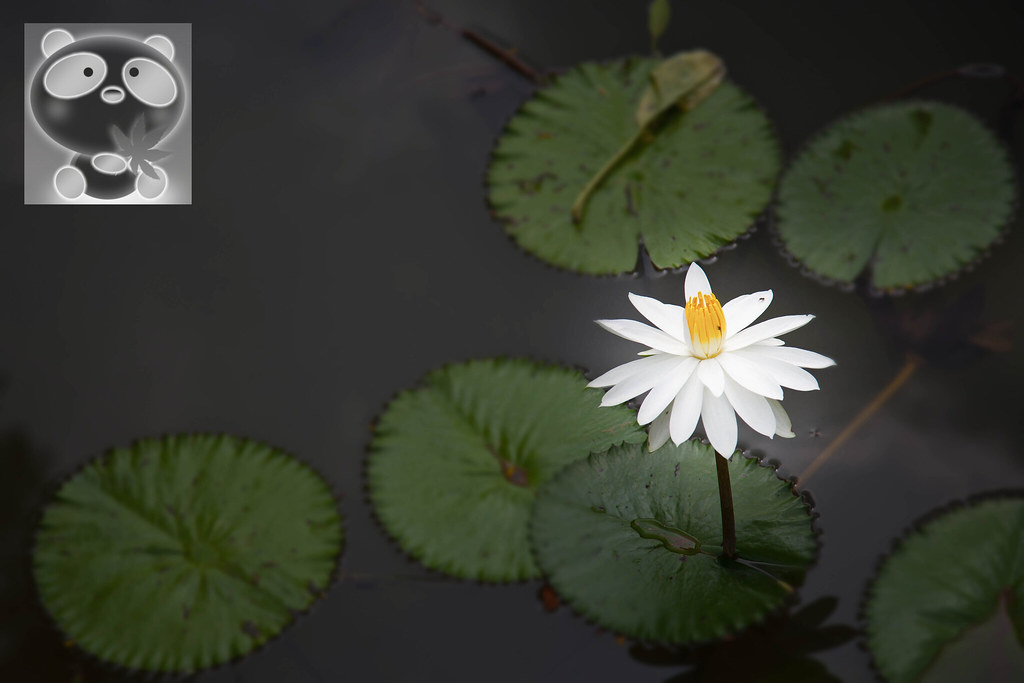
But why do you need Bokeh? Bokeh can make your object stand out and you can focus more on your object. Here are a few examples that taken by me using the same technique:
Pic #1. I want to focus to be more on the man's face and there's a chain behind his head. Therefore I blur out the background.

Pic #2. There are quite a number of distraction on the background. And I again, I blur it out to focus the man on the left.

So, hope this helps to all and enjoy shoting!
"In photography, bokeh (pronounced /boʊ'kɛ/) is the blur,[1][2] or the aesthetic quality of the blur,[3][4][5] in out-of-focus areas of an image, or "the way the lens renders out-of-focus points of light."[6] Differences in lens aberrations and aperture shape cause some lens designs to blur the image in a way that is pleasing to the eye, while others produce blurring that is unpleasant or distracting—"good" and "bad" bokeh, respectively.[1] Bokeh occurs for parts of the scene that lie outside the depth of field. Photographers sometimes deliberately use a shallow focus technique to create images with prominent out-of-focus regions." -http://en.wikipedia.org
A big aperture give you a very good Bokeh. However not all photographers can afford to purchase these lens as it oftenly come with a high price.
Thanks to the software technology today, photographers are able to create their own bokeh without having big aperture lens. Today, I would like to share with fella members here a simple tutorial of how to create a bokeh with Photoshop.
What I have with me now is Adobe Photoshop Version 6.1 and a simple photo that I just took. Please take note that the objects are arrange in side by side manner just to give readers a better illustration.
1. Open the photo that you want to work on.
2. Choose the Rectangular Marquee Tool (M) and select the object.
3. Right click on your mouse and select Feather.
4. Select Feather Radius of 20 and click OK.
5. You can see radius on the 4 corners of your selection.
6. Right click and select Inverse.
7. You can see all your selection are inversed.
8. Go to Filter -> Blur and click Gaussian Blur.
9. Choose radius 8 and click OK.
10. Right click and choose Deselect.
So, here you go:
Before:
After:
All the settings that I presented here is just an example. You can set your own setting according to your taste. With this technique, you can compensate a Bokeh photo without getting a big aperture lens.
But why do you need Bokeh? Bokeh can make your object stand out and you can focus more on your object. Here are a few examples that taken by me using the same technique:
Pic #1. I want to focus to be more on the man's face and there's a chain behind his head. Therefore I blur out the background.
Pic #2. There are quite a number of distraction on the background. And I again, I blur it out to focus the man on the left.
So, hope this helps to all and enjoy shoting!