What I'm going to share with you today is how to create a HDR photo with a single image using Photomatix Pro 3.2. But why do I choose Photomatix instead of other softwares? This depends on photographers preference. For me, I feel that Photomatix is user friendly and straight forward.
Now, here are the rules of thumb before the HDR post processing:
1. Always shot in your lowest ISO - Reduce noise on your photos.
2. Always shot on tripod - This helps you to create a steady shot.
3. Shot with a cable or wireless trigger - this is not a must, but it's definitely helpful to prevent movements of the camera.
4. Always shot in RAW.
Ok, let's start the HDR post processing:
1. Duplicate the file that you want into 5 copies.
2. Open your Photomatix, click generate HDR IMAGE, select that 5 files and click OK.

3. Key in the EV (exposure value) that you want. For me I have selected -2, -1, 0, 1, 2 then click OK.

4. In a few minutes, you'll see this. In order to keep everything simple, just click OK.

5. Then it will start to run.
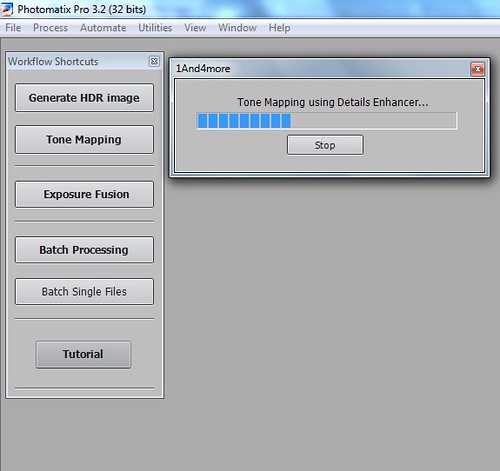
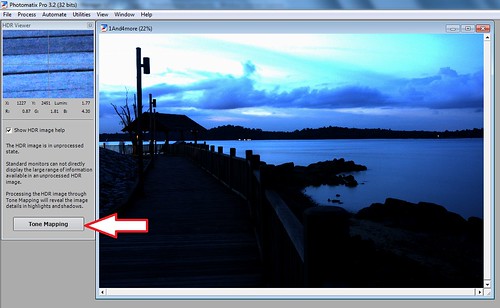
6. Once it's complete, you will see something as per below. Then just click TONE MAPPING.
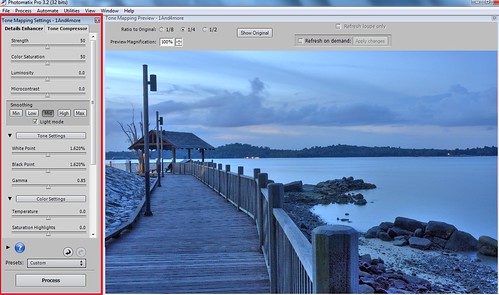
7. Now, here's the tricky part. As you can see here there are 2 tabs. One is DETAILS ENHANCHER while the other tab is TONE COMPRESSOR. For me, I have choosen DETAILS ENHANCER because it give me a better control of how my photo should look like according to my preference. 2nd point is that always keep all the settings at "CENTRE RANGE". This helps you to keep track on your setting accordingly so that you can adjust the setting one by one according to your taste.
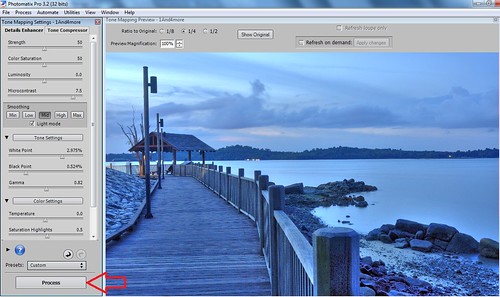
8. These are the settings that I have chosen and click PROCESS.
9. Once it's complete, you just go to FILE and choose SAVE AS the file name that you want.
Here you go:
Before:
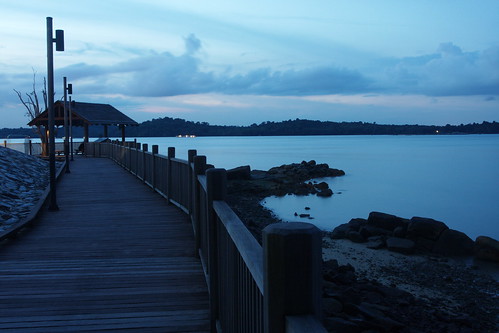
After:
